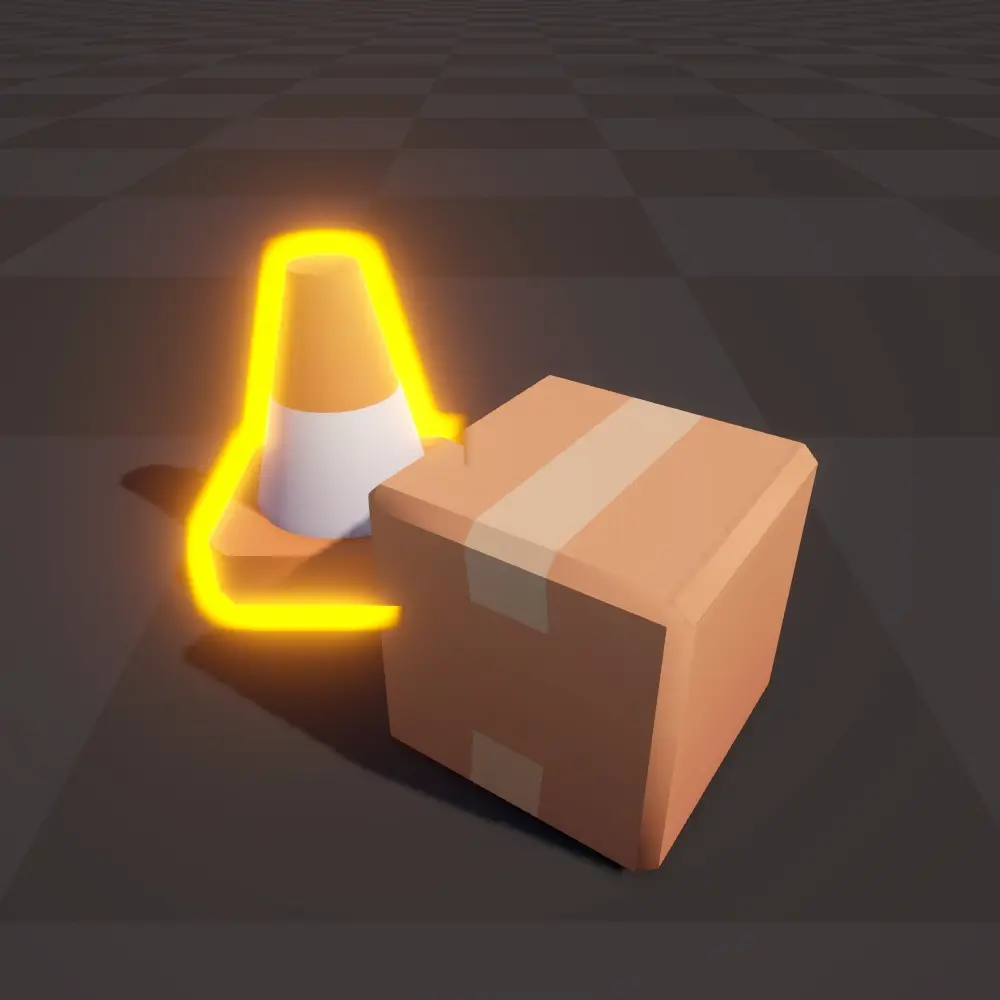
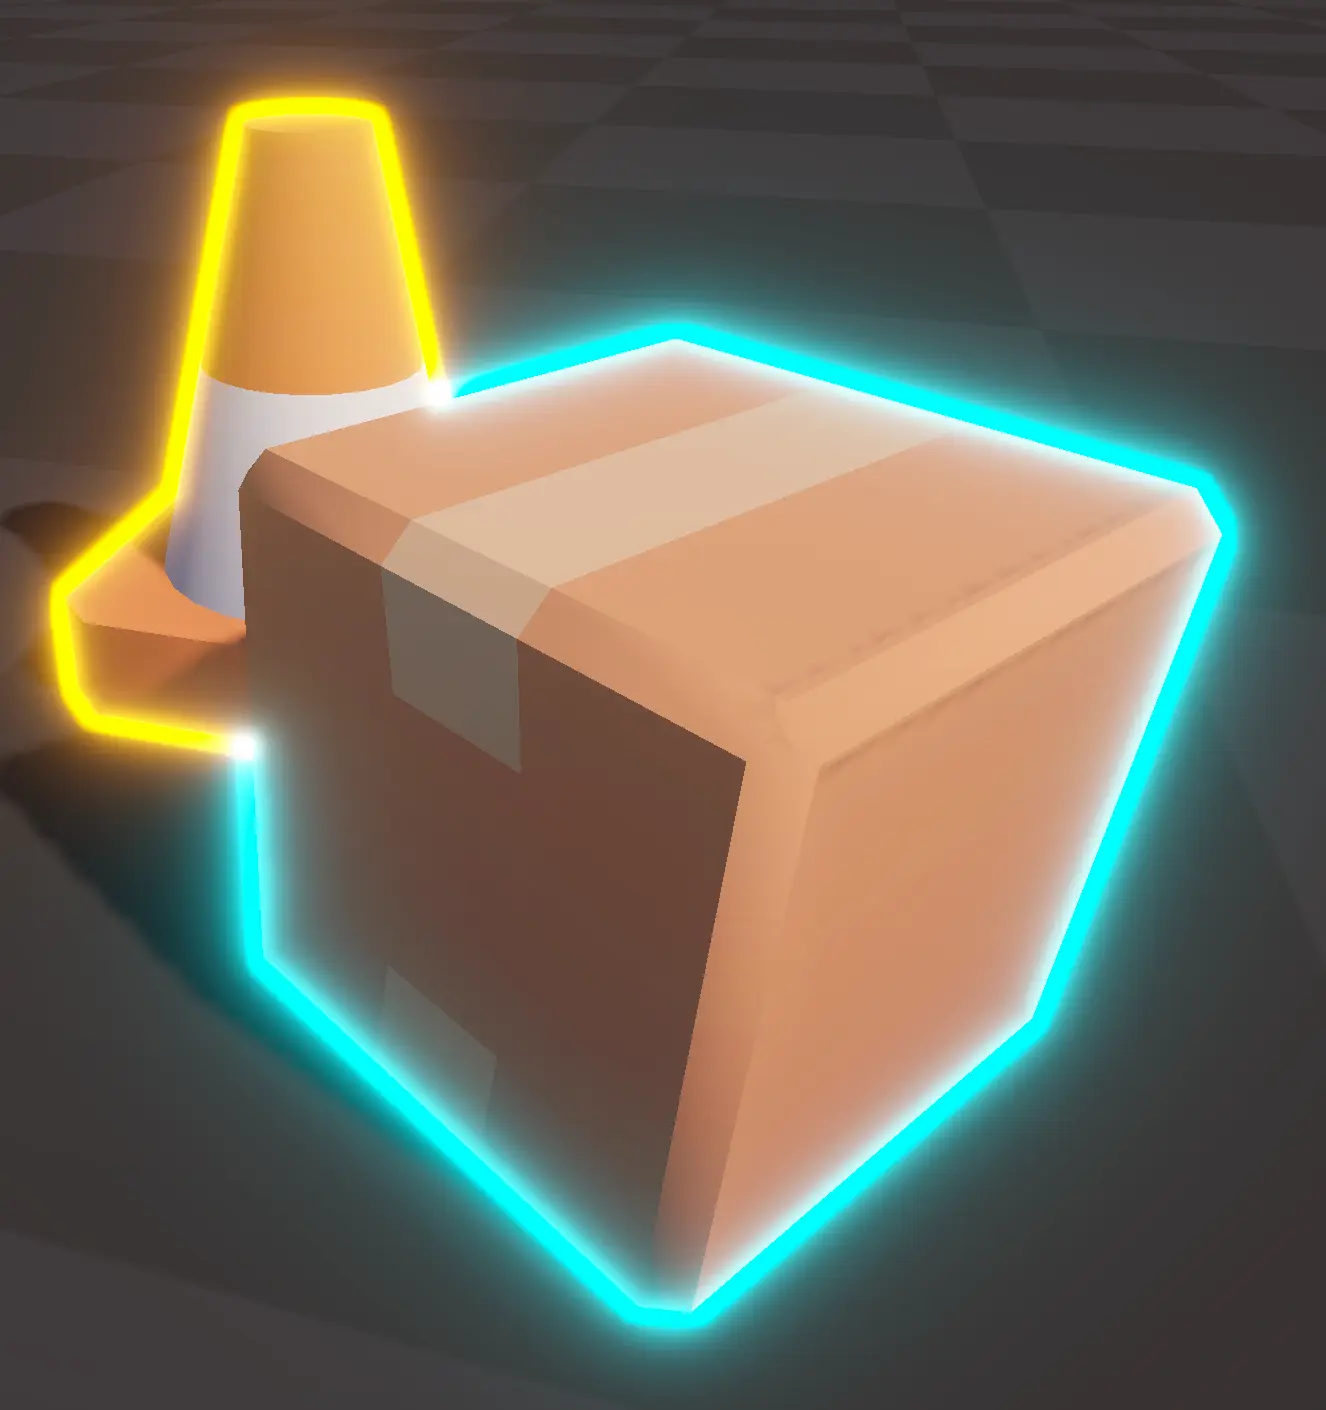
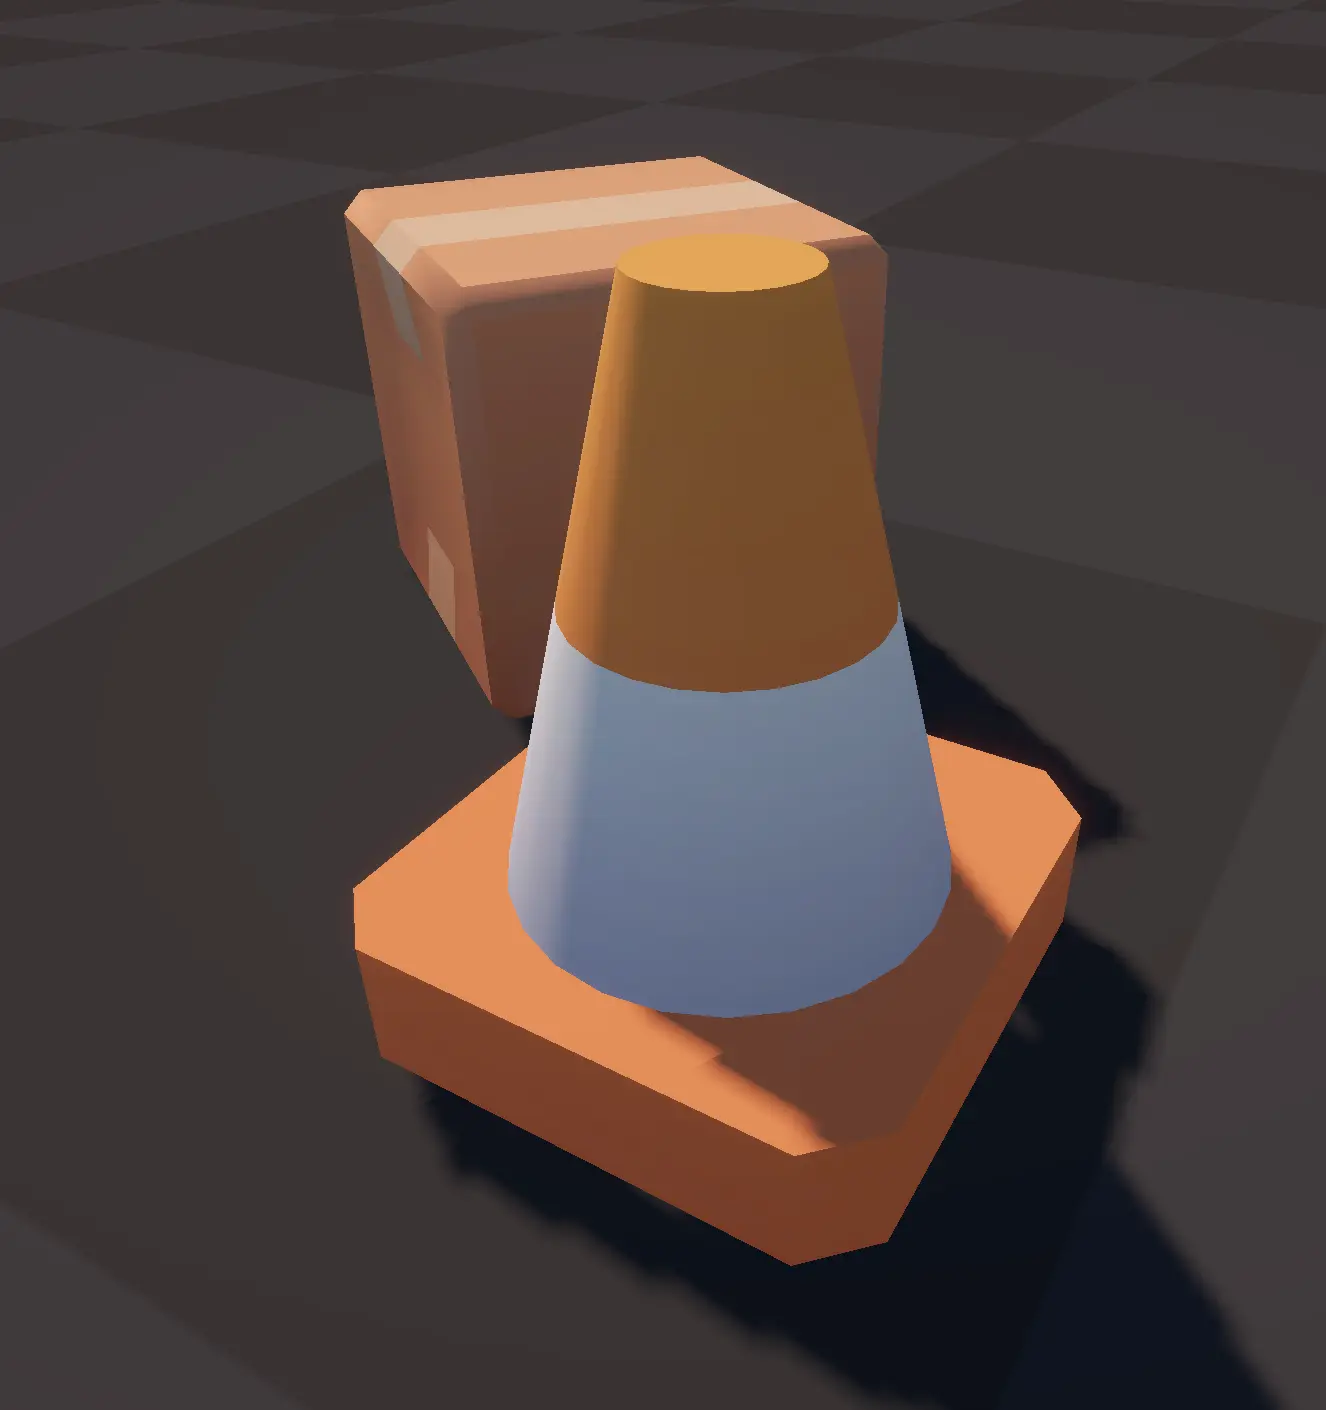
Soft Outline renders outlines by generating a silhouette of an object and applying a dilation/blur effect, resulting in smooth, soft-edged contours around objects.
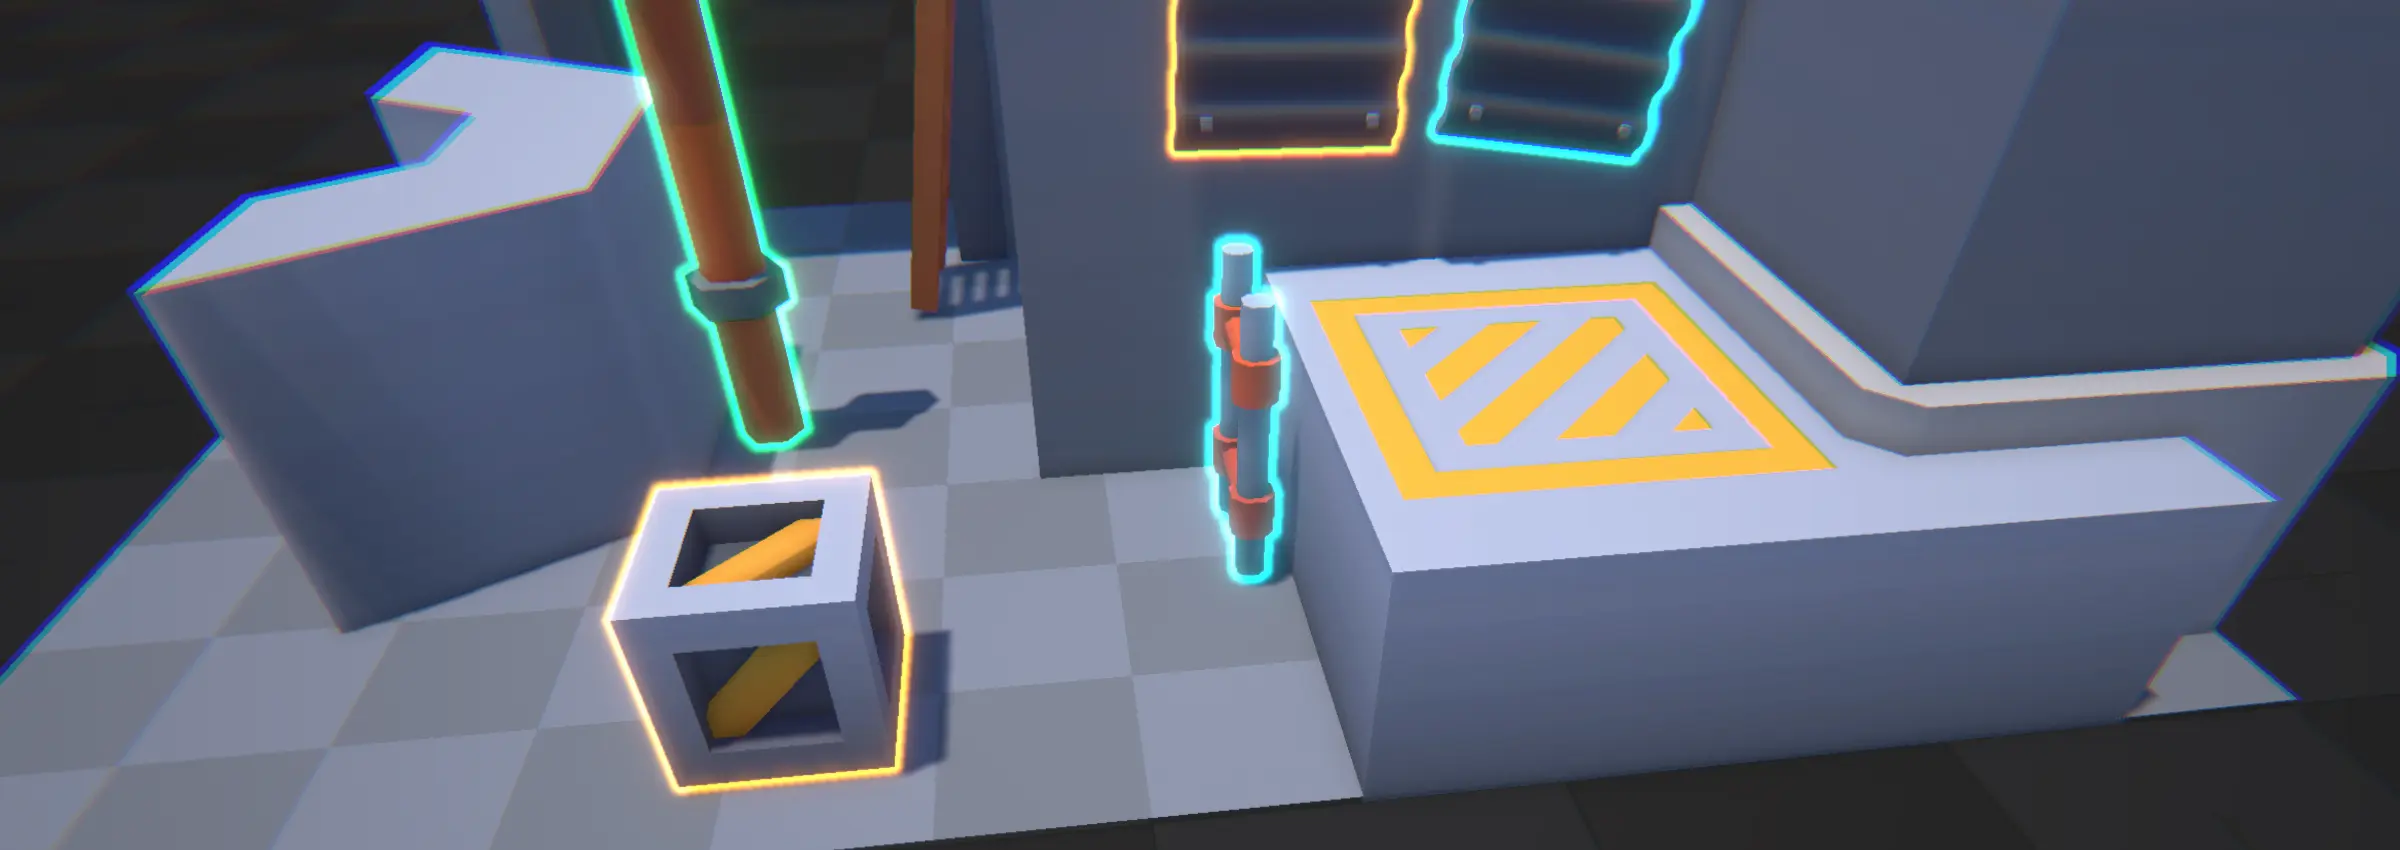
Advantages
- Soft Edges: Good for rendering soft/glowy outlines, but also supports solid outlines.
- Object Exclusion: Easily select which specific objects should receive an outline.
Disadvantages
- Inner Lines: No inner lines are rendered. Only outlines.
- Performance: Expensive to get wide outlines due to the screen-space blur/dilation that happens.
- Multiple Styles: All outlined objects in the scene will share the same thickness as well as some other settings.
Configuration
The Soft Outline Settings object contains the settings related to this outline effect. Here are all of the settings explained. In Unity, each setting also has a tooltip which shows more information.
General Settings The general settings apply to the outline effect as a whole (with all sub-outlines included).
| Setting | Description | Additional Information |
|---|---|---|
| Stage | Controls when the render pass executes. | |
| Show In Scene View | Sets whether to render the pass in the scene view. | |
| Force Clear Stencil | Force clear the stencil buffer after the render pass. | Should normally not be enabled, but can be used if you notice unexpected interactions between different effects. |
| Debug | Which stage to render as a debug view. |
Shared Outline Settings Some settings related to the visuals of the outline are shared between all outlines. This is because Soft Outline is a screen-space effect.
| Setting | Description | Additional Information |
|---|---|---|
| Blend | How to blend the outline with the rest of the scene. | |
| Type | Whether to render a soft or a hard outline. | |
| Color | The color of the outline. | |
| Hardness | The hardness of the outline. | |
| Intensity | The intensity of the outline. | |
| Method | The method used to dilate the outline. | |
| Width | The width of the outline. | |
| Spread | The spread of the Gaussian kernel (Gaussian Blur). | |
| Passes | How many blur passes to perform (Kawase Blur). |
Outline Settings To add an outline, click on the Add Outline button. This will add an outline to the list. You can add as many outlines as you want. See the Performance section for more information about the impact of adding outlines.

Each outline in the list is applied to objects that belong to the specified Rendering Layer Mask. See Rendering Layer Masks for more information about how the layer system works.
The outline settings apply to a specific outline.
| Setting | Description | Additional Information |
|---|---|---|
| Layer | The rendering layer(s) which will get an outline rendered for them. | See Rendering Layer Masks for more information. |
| Render | For which occlusion states to render the outline. | See Occlusion States for more information. |
| Closed Loop | Whether to render a closed loop outline. | |
| Color | The color of the outline. |
Outline Type
The Soft Outline effect supports both a soft and a hard outline type.
Soft: A soft and glowy outline that fades out towards the edges. Supports multiple colors. Hard: A hard outline where the alpha is cut off at a certain threshold. Supports a single, shared color.
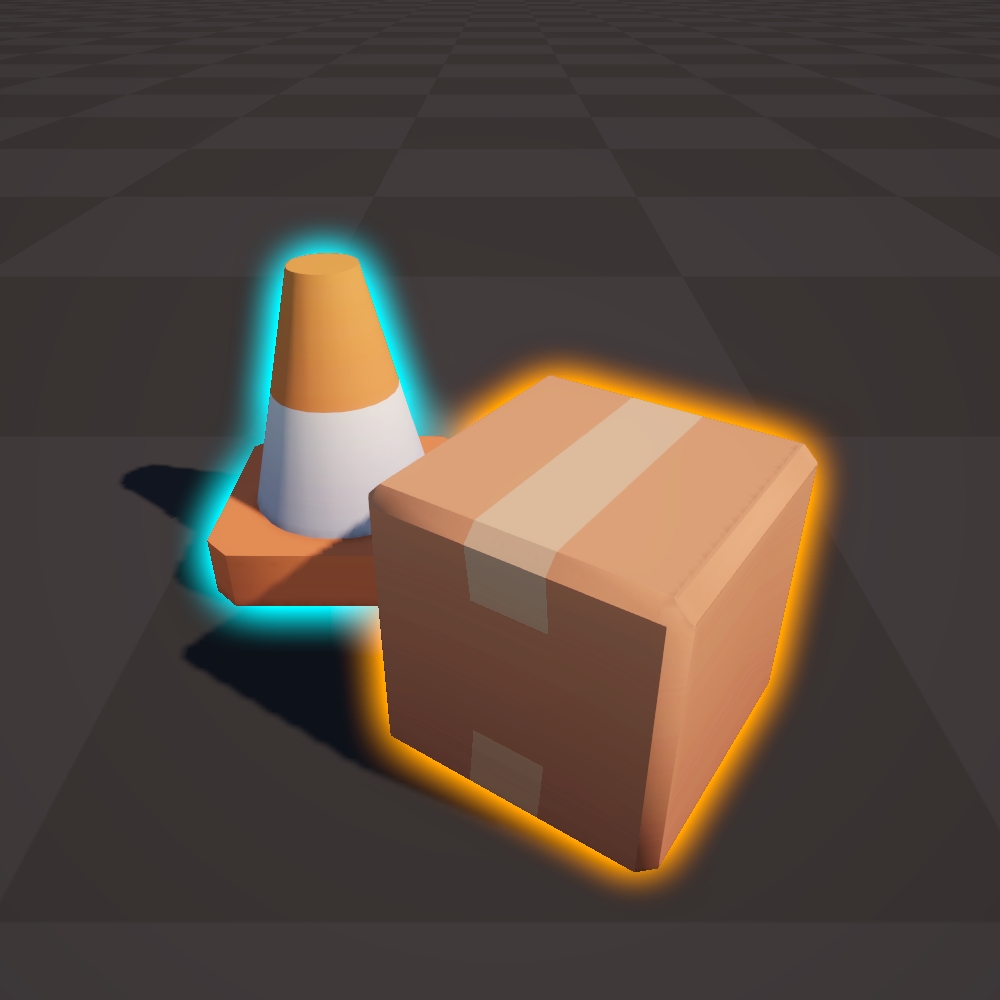
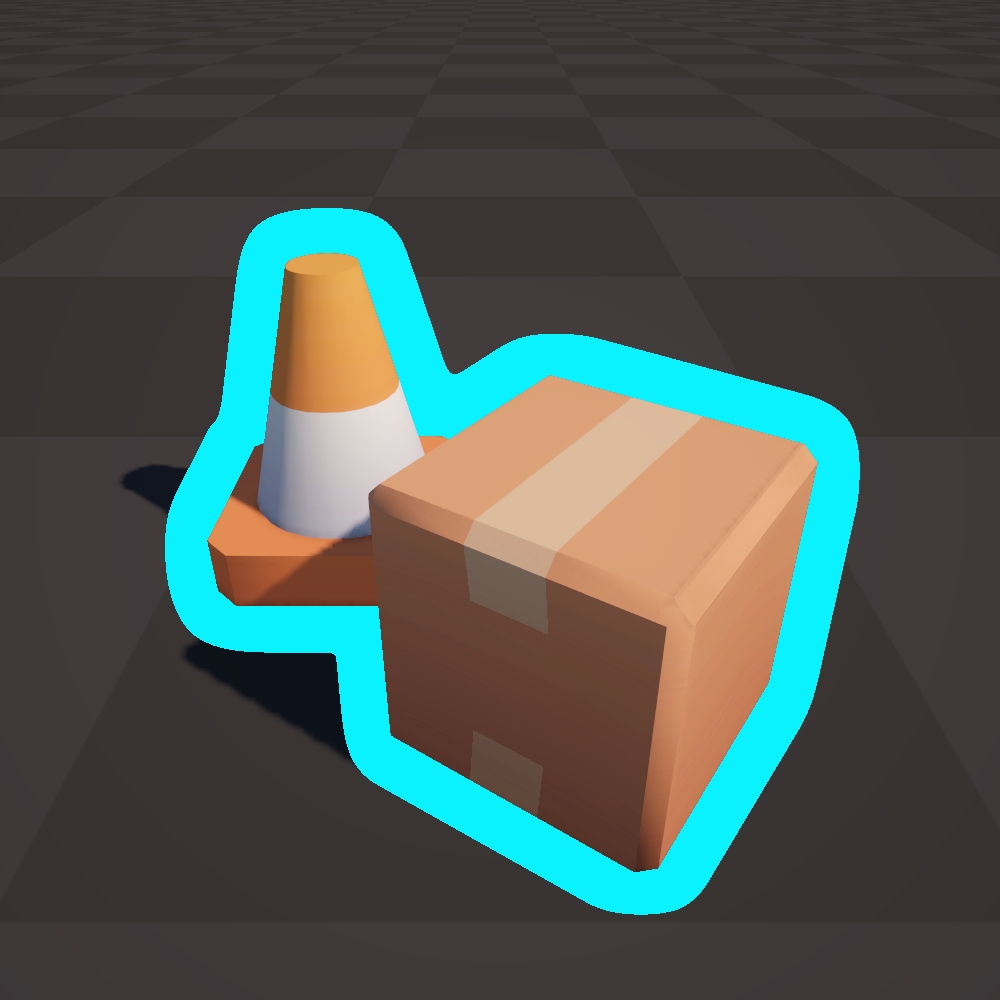
Hard Outline = Shared Color
When using the Hard outline option, the color is shared between all outlines in the list. If you need multiple Hard outlines with different colors, you can use multiple Soft Outline effects, but this will have an effect on Performance. Contact me if you have additional questions about this.
Dilation Method
The Soft Outline effect renders outlines by generating a silhouette of an object and applying a dilation/blur effect. There are several options available to control how the silhouette is dilated.
Box A box blur is applied. Controlled through a Width parameter.
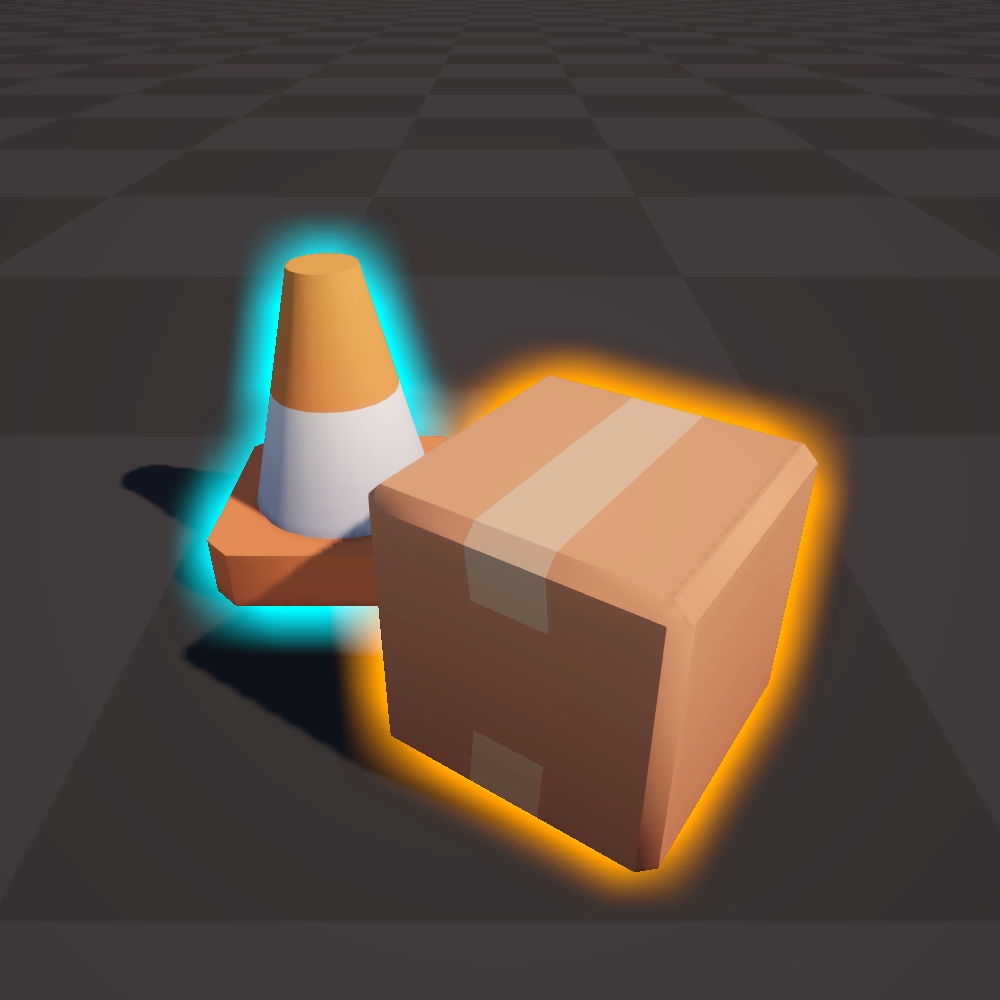
Gaussian A Gaussian blur is applied. Has an additional Spread parameter. Results in smoother outlines at a slight performance cost.
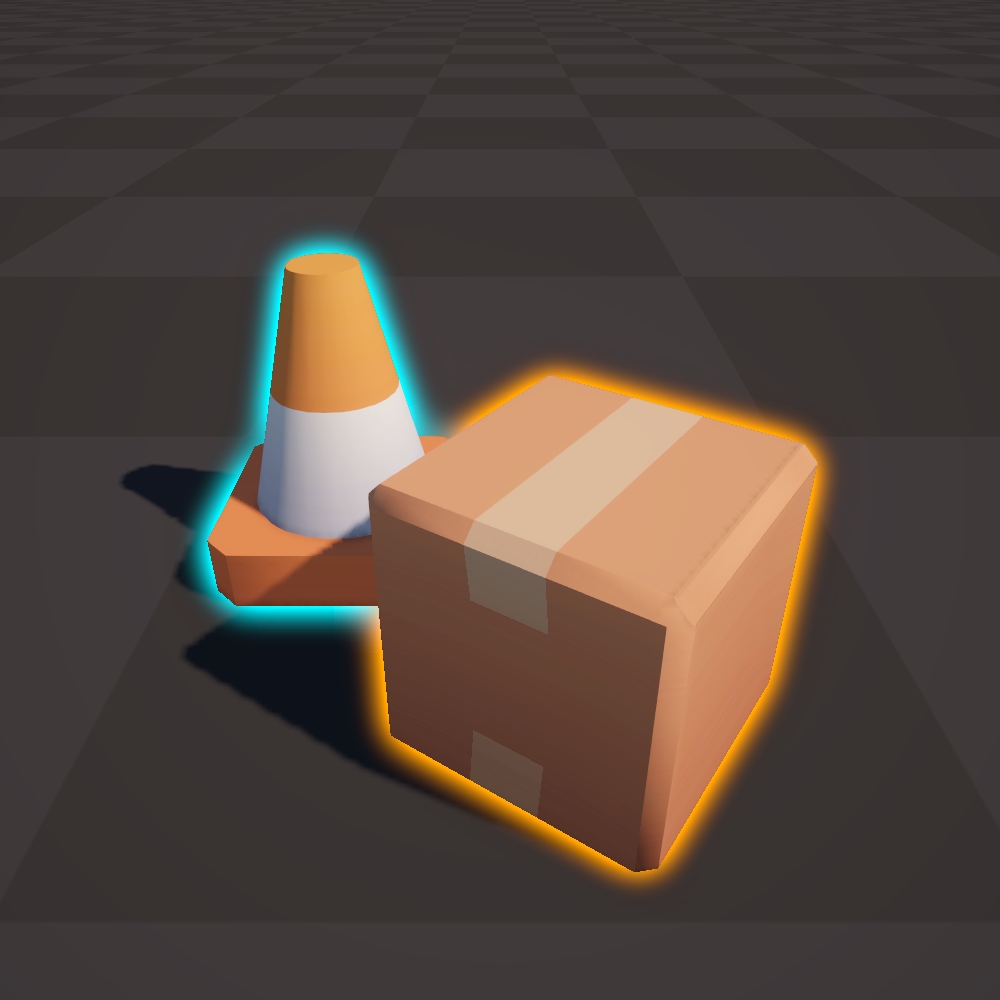
Kawase A Kawase blur is applied.
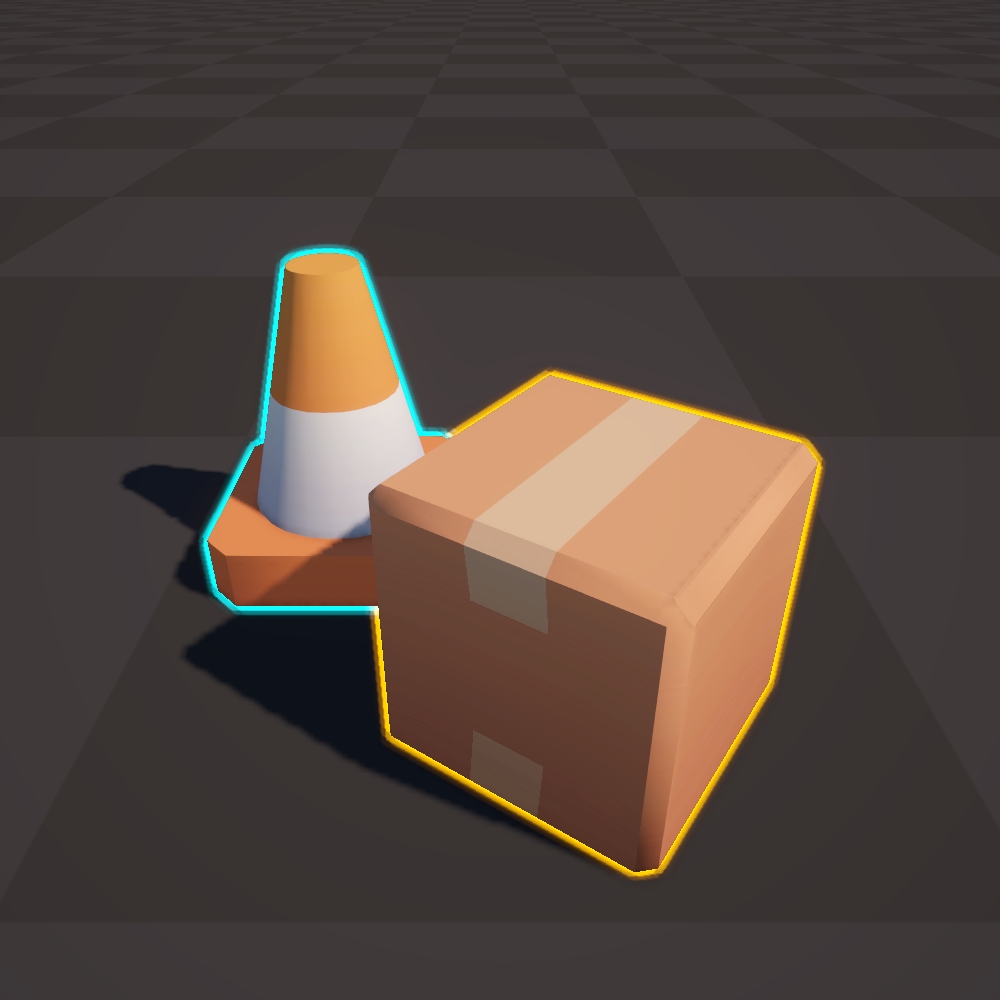
Dilate A dilation effect is applied.
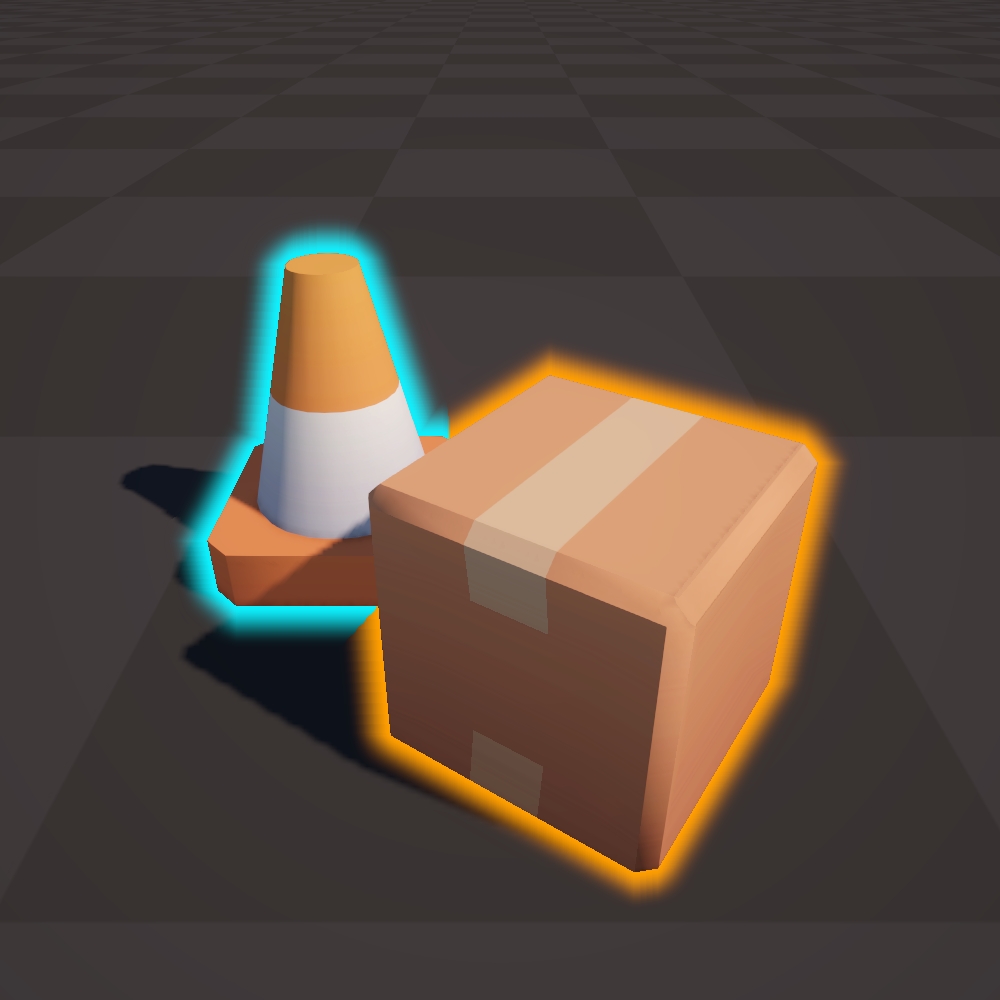
Closed Loop
The Soft Outline effect has a Closed Loop option. This option is only available when the When Not Occluded render option is selected.
It results in the outline being a single closed loop.
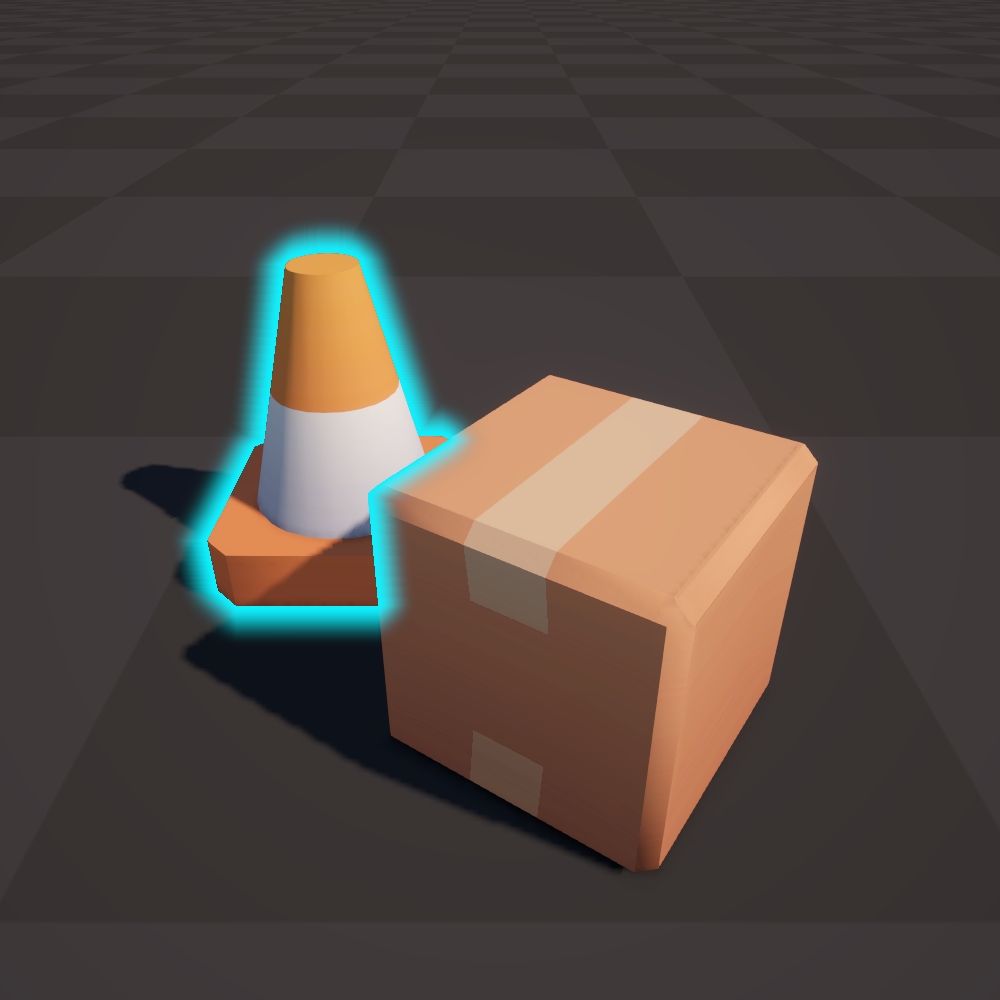
Limitations
There are some known limitations that come with the implementation of the Soft Outline effect.
Hard Outline Color
When using the Hard outline type, the color of the outline is shared between all outlines.
Outline Bleeding
Because the silhouette is dilated in screen-space, the outline will not always completely respect the configured Occlusion State. This is especially apparent for wide outlines.
In the example below, the outline is set to render When Not Occluded however the outline bleeds slightly over the other object in the scene.
See Outline Bleeding for ways to resolve this.
Overlapping Effects
If 2 outlined objects overlap in the scene, the interaction of the outlines might not always be what you expected. The reason is that all objects render to the same silhouette buffer, which is then blurred a single time (for performance reasons) and also sampled a single time.
For example, the following 2 outlines are set to render Always, yet they are broken up at the intersection and so not in fact rendering always.
Another example is these 2 outlines that are set to render When Occluded. However, the outlines never rendered.
This limitation is present because the objects share the same silhouette that is then blurred. To get around these issues, each outline should have its own silhouette that is then blurred separately, which is prohibitively expensive.
Performance
Soft outline works by generating a silhouette of an object and applying a dilation/blur effect. The result is a smooth, soft-edged contour. However, due to the screen-space dilation/blur, there is a performance impact. Soft outline comes with 4 dilation methods, each working a different way and having a different performance impact.
Box Blur
Performs a two-pass blur on the silhouette, once vertical and once horizontal. This blur works by taking multiple samples around a center sample, and averaging the result.
For each blur pass (2 in total), the silhouette texture is sampled outlineWidth * 2 + 1 times. For example, if the outlineWidth is equal to 2 then the silhouette texture is sampled 2 * 2 + 1 = 5 times. This means that the performance cost of this shader increases linearly with the outline width.
For each sample, the weight of the sample is simply 1 / number of samples and so does not need to be calculated.
Gaussian Blur
Performs a two-pass blur on the silhouette, once vertical and once horizontal. This blur works by taking multiple samples around a center sample, and averaging the result, weighted according to a Gaussian distribution around the center pixel
For each blur pass (2 in total), the silhouette texture is sampled outlineWidth * 2 + 1 times. For example, if the outlineWidth is equal to 2 then the silhouette texture is sampled 2 * 2 + 1 = 5 times. This means that the performance cost of this shader increases linearly with the outline width.
Additionally, for each sample, the weight of the sample is calculated.
Kawase Blur
Performs a multi-pass blur on the silhouette. This blur works by taking 5 texture samples in total for each pass. Increasing the outline width, does not influence the number of samples taken, but instead increases the number of passes.
For example, if the number of passes is set to 3 in the settings, then 3 * 5 = 15 texture samples will be executed.
This means that the performance cost of this shader increases linearly with the outline width.
