All outline and fill effects make use of the Rendering Layer Mask system in Unity to control which objects should receive an outline. Using this system you gain a lot of flexibility to define which objects receive which outlines.
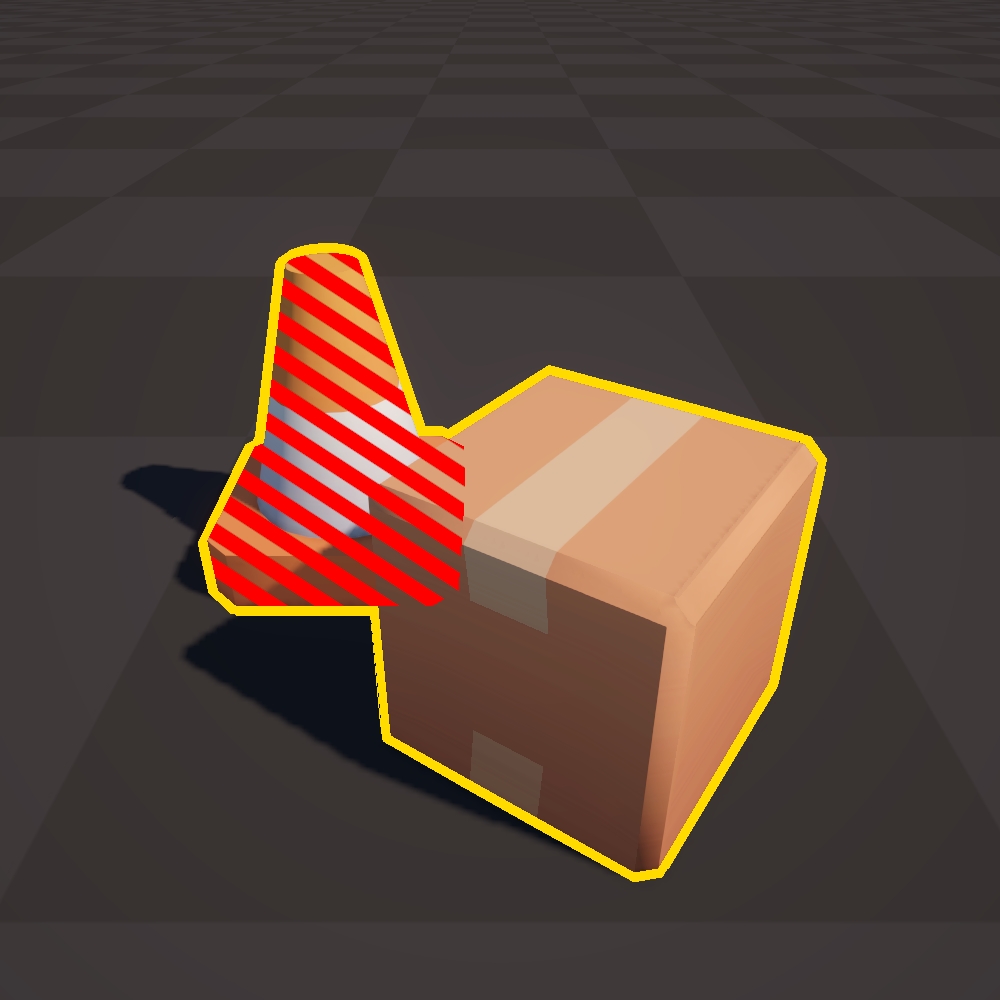
As an example, you could have a Default Rendering Layer and an Enemy Rendering Layer. All objects that should have an outline can then get added to the Default Rendering Layer and a yellow outline could be assigned to that rendering layer. Objects that are in a temporary Enemy State could then be temporarily added (by script) to the Enemy Rendering Layer and a red, striped fill effect could be assigned to that rendering layer.

To get started with setting up a rendering layer, you can follow these steps.
1. Create a Rendering Layer
Go to Project Settings > Tags and Layers. In here, add a layer (or replace one of the Light Layers if you are not making use of them).

2. Add an object to a Rendering Layer
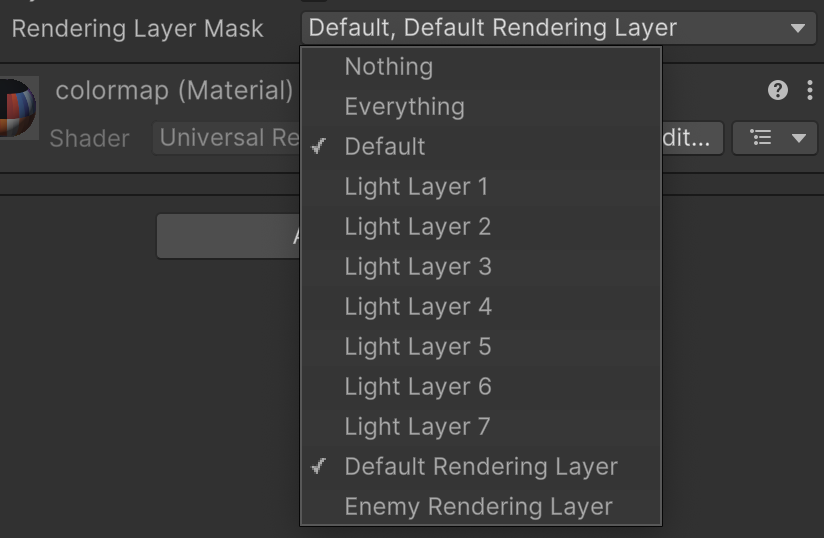
Go to the Mesh Renderer of the object that you want the outline applied to, and under Additional Settings > Rendering Layer Mask, select the rendering layer that you just created.

3. Assign an outline/fill to a Rendering Layer
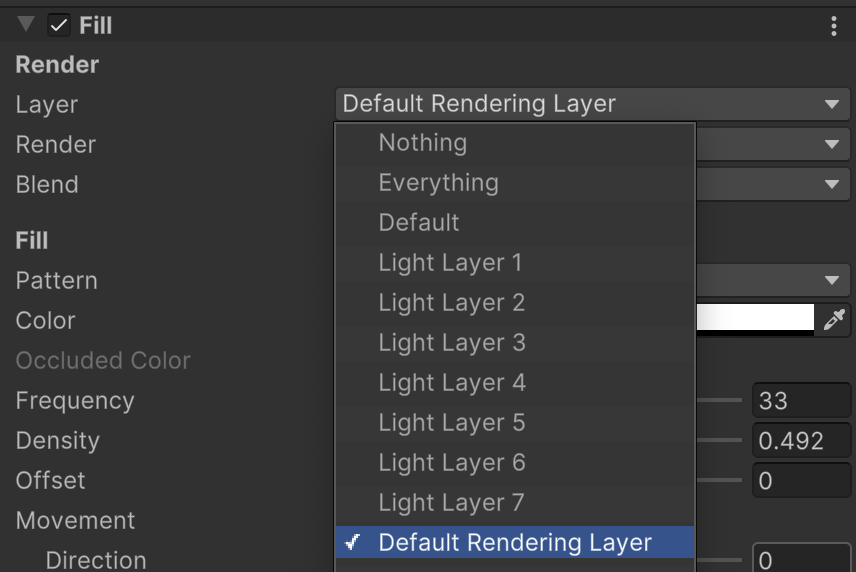
In your render effect (outline or fill) you will find the Layer setting. In here, select all of the rendering layers for which the outline/fill should be applied.

Performance Implications
Be sure to read the Unity documentation on Rendering Layers. Especially the section on Performance is relevant. https://docs.unity3d.com/Packages/com.unity.render-pipelines.universal@17.0/manual/features/rendering-layers.html#performance